 Ferndale Siding
 Why Lynden's Climate Asks More of a Window Than People Expect
Lynden sits inland from Bellingham Bay, but that doesn't mean the weather is any easier on a house. Whatcom County's rain doesn't stop at the water's edge — it rides in on southwest storms for months at a stretch, and low-lying, tree-shaded parts of the Nooksack valley tend to hold onto damp air longer than the areas closer to town. That's the same dampness that keeps roofs and siding in a long moss season here: if it's growing on your north-facing trim, it's working on your window sills and frames too.
Lynden also sits closer to the Sumas Gap, the low pass where cold air spills down out of the Fraser Valley in winter. When one of those outflow events comes through, homes here tend to feel a sharper, drier cold snap than neighborhoods nearer Bellingham Bay, where the water moderates the swing. A window that's merely "fine" in a mild coastal climate can get pushed past its limit by that jump from persistent damp to sudden hard cold — seals contract, condensation forms, and any weak point in the installation shows itself fast.
Salt Air Isn't Only a Waterfront Problem
Homes right on Bellingham Bay or Drayton Harbor deal with salt-laden air directly attacking hardware and finishes. Lynden isn't waterfront, but the same principle applies at a slower pace: near-constant regional humidity corrodes cheap hardware, degrades unsealed fasteners, and breaks down unfinished frame components over time, whether or not there's salt in the air. We spec hardware and finishes for the county's overall moisture load, not just for whichever block a house happens to sit on.
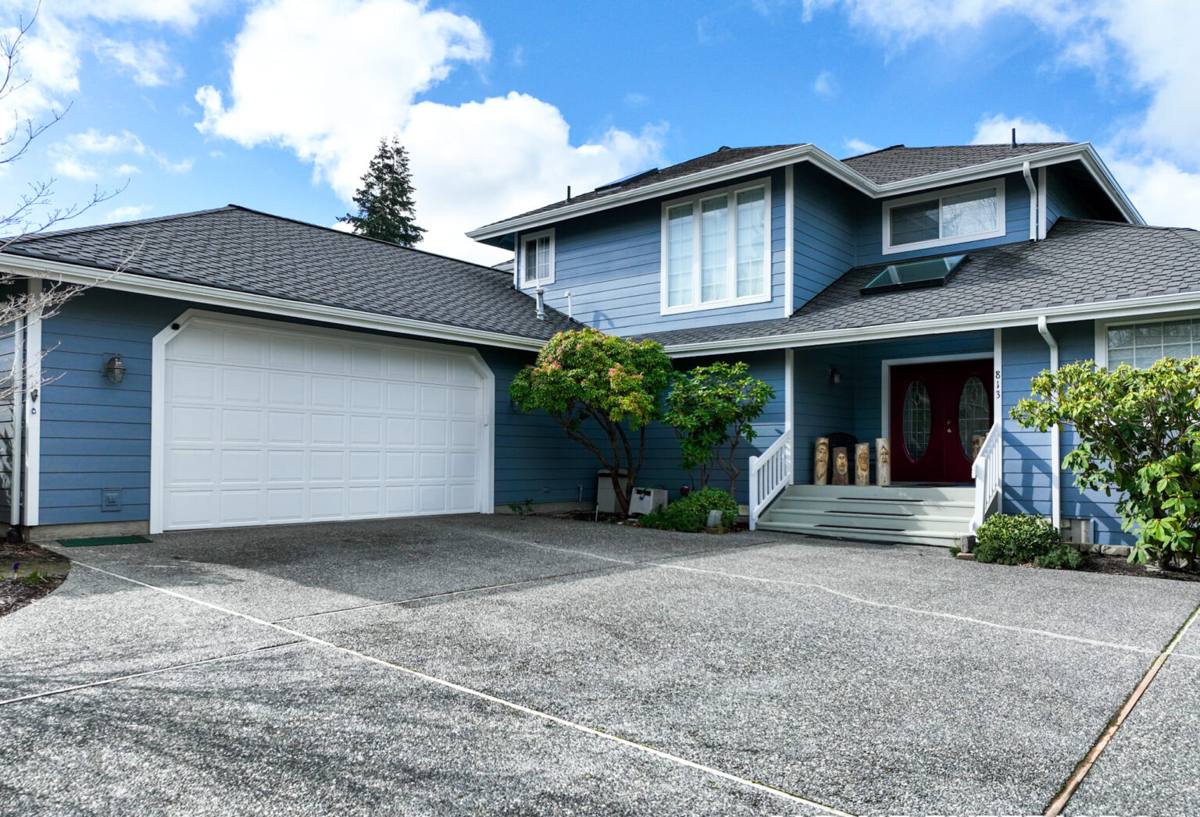
Signs Your Current Windows Are Losing the Fight
- Fog or moisture trapped between the panes — the seal has failed and the insulating gas is gone
- Cold air you can feel at the edge of the frame, even with the window latched shut
- Moss, algae, or dark staining building up on sills and exterior trim faster than the rest of the house
- Heavy interior condensation and "sweating" during a cold snap, especially on the coldest morning after an outflow event
- Wood trim near the window going soft, spongy, or discolored — a sign moisture has been getting behind it, not just sitting on top
- A noticeable jump in heating cost during the wettest, coldest stretch of winter
Any one of these can show up in a house that's otherwise in good shape. It usually means the window itself, or the way it was originally installed, isn't holding up its end against this climate anymore.
What "Energy-Efficient" Actually Means, Without the Sales Jargon
Every legitimate window carries an NFRC label with a few numbers that actually matter more than the marketing copy around them:
- U-factor — how much heat escapes through the window. Lower is better for our winters.
- SHGC (Solar Heat Gain Coefficient) — how much solar heat the glass lets in. Matters most on south- and west-facing walls that catch direct sun.
- Air leakage rating — how much air moves through the assembly itself, separate from how well it's installed.
Behind those numbers, the details that actually earn them are argon gas fill between the panes, a low-E coating tuned for our climate, and a warm-edge spacer bar that keeps the coldest part of the glass unit from becoming a condensation magnet — which matters a great deal in a place where humidity sits high for months at a time.
Frame Material Trade-Offs
| Frame Material | How It Handles Our Damp/Cold Cycle | Upkeep |
|---|---|---|
| Vinyl | Won't rot or corrode; multi-chamber vinyl resists heat/cold movement well | Low — no painting, occasional track cleaning |
| Fiberglass | Expands/contracts closest to glass, tight long-term seals; handles outflow cold snaps well | Low — factory finish holds up, minimal upkeep |
| Wood-clad | Good insulator, but any breach in the exterior cladding exposes wood to our rain and moss-season moisture | Higher — cladding and joints need periodic inspection |
| Aluminum | Conducts cold readily; prone to interior condensation unless thermally broken | Low, but performance is the trade-off |
We don't push one brand or material as a universal answer. We tell you honestly which option fits the specific opening, orientation, and budget in front of us.
Installation Is Where Efficiency Is Actually Won or Lost
A high-end window installed carelessly performs worse than a mid-grade window installed correctly — this is the single most important thing we tell Lynden homeowners. The rating on the label describes the unit in a lab, not how it behaves once it's set into a rain-exposed wall.
What Correct Installation Actually Involves
- Sill pan flashing under the window opening so any water that does get past the exterior sheds back out, not into the wall framing
- Proper lapping of the window's flanges with the weather-resistive barrier — water always has to move downward and outward over each layer, never behind it
- Shimming the unit plumb, level, and square before fastening, so the sash operates correctly and seals evenly for the life of the window
- Insulating the gap between frame and rough opening with a material that stays flexible, rather than overfilling with rigid foam that can bow the frame
- Sealant and flashing tape at the exterior, sized and lapped for wind-driven rain, not just a bead of caulk around the trim
Skip any one of these steps and you can still have a window that looks fine and even opens smoothly, while quietly failing behind the trim. In a climate that delivers driving rain for months and cycles between soaked and freezing, an installation shortcut eventually shows up as rot, mold, or a drafty room — usually a year or two after the crew that cut the corner is gone.
Our Process for a Lynden Window Project
- On-site assessment — we look at each opening, the wall assembly behind it, and how the house is oriented before recommending anything.
- Product selection — frame material, glass package, and style matched to that specific opening and your budget, not a one-size-fits-all pitch.
- Careful removal — we take out the old unit and inspect the framing and sheathing underneath for hidden moisture damage, which shows up more often in this climate than homeowners expect.
- Flashing and water management rebuild — sill pan and WRB integration done correctly at every opening, whether or not the last installer bothered.
- Setting and sealing — shimmed square, insulated properly, sealed for wind-driven rain.
- Exterior trim and siding tie-in — the trim and any adjacent siding are finished so the whole wall sheds water as one system, not a window patched into a wall.
- Walk-through — we show you how the hardware operates and what routine upkeep looks like for your specific windows.
Matching the Window to the House, Not the Other Way Around
Full-frame ("new construction") windows tie the new unit's flange directly into fresh flashing and the wall's weather barrier — the strongest approach when siding or trim nearby is already being opened up or replaced. Pocket or insert replacements fit inside the existing frame and disturb less of the surrounding wall, which is often the right call when the existing frame and flashing are still sound and only the sash and glass have failed.
Orientation matters too. South- and west-facing openings catch the most direct sun and benefit from glass tuned to manage solar heat gain; north-facing openings on the shaded, moss-prone side of a house are more about keeping wind-driven rain and cold out than managing sun. We factor both into the recommendation rather than quoting the same glass package for every opening on the house.
Cost Factors Worth Understanding Before You Get Quotes
| Factor | Why It Moves the Price |
|---|---|
| Insert vs. full-frame replacement | Full-frame involves rebuilding the flashing and trim around the opening, not just swapping the sash — more labor and material |
| Frame material | Vinyl is generally the most budget-friendly; fiberglass and wood-clad options cost more up front |
| Glass package | Double-pane with standard low-E costs less than triple-pane or specialty coatings |
| Number and size of openings | Larger units and more openings mean more material and labor, straightforwardly |
| Condition of the wall behind the old window | Hidden rot or moisture damage found during tear-out adds repair work before the new window can go in correctly |
We'd rather walk you through these factors on-site and give you a number based on your actual openings than throw out a figure that doesn't hold up once we see the house.
Keeping Them Performing Through a Long Wet Season
- Clear moss, leaves, and debris from sills and tracks heading into fall, before the wet season sets in
- Make sure weep holes at the bottom of the frame stay clear — they're how any water that does get in drains back out
- Check exterior caulking and sealant once a year, ideally before the heaviest rain arrives, and touch up anything that's cracked or pulled away
- Wipe up interior condensation promptly rather than letting it sit on the sill or sash track
- Avoid aiming a pressure washer directly into weep holes or up under the sill flashing
- Watch trim near window corners for softness or discoloration once a year — it's the earliest sign of a problem behind the surface
Why a Crew That Also Does Siding Matters for a Window Job
Windows and siding aren't separate systems on a house — they share the same wall, the same weather-resistive barrier, and the same job of shedding Whatcom County's rain before it gets behind the surface. A window installer with no siding background can set a perfectly good window into a poorly integrated wall, and a siding crew unfamiliar with window flashing can do the reverse. Either mistake tends to show up later as a leak nobody wants to take responsibility for.
Because we work on both, the flashing at your window ties into the same drainage plane as the siding around it, done once, by one crew, with one person accountable for the result. We've done exterior work across Ferndale and the surrounding Whatcom County communities long enough to know how local homes of different ages were originally built and where they typically need the most attention.
If your Lynden home has windows showing any of the signs above, or you're planning ahead for a remodel, we're glad to come take a look and give you a straightforward, no-pressure estimate — just fill out the form below.