 Ferndale Siding
 Building New in Point Roberts: What Your Windows Need to Handle
Point Roberts sits on its own peninsula, cut off from the rest of Whatcom County by the international border, with open water on three sides. That geography is part of the appeal, but it also means new-construction windows here are doing a harder job than windows on a typical inland lot. Salt-laden air off the water accelerates corrosion on hardware and fasteners, wind-driven rain pushes water sideways into gaps that would stay dry elsewhere, and the long, damp moss season keeps exterior surfaces wet for weeks at a stretch. If the window package and the installation details aren't matched to that combination, problems show up as failed seals, stained sills, and soft framing long before the windows themselves would normally need replacing.
New construction gives you one real advantage over a retrofit: the window opening is still open, the weather-resistive barrier isn't installed yet, and you get to build the water management system into the wall from scratch instead of working around what's already there. Getting that sequence right the first time is the whole ballgame.
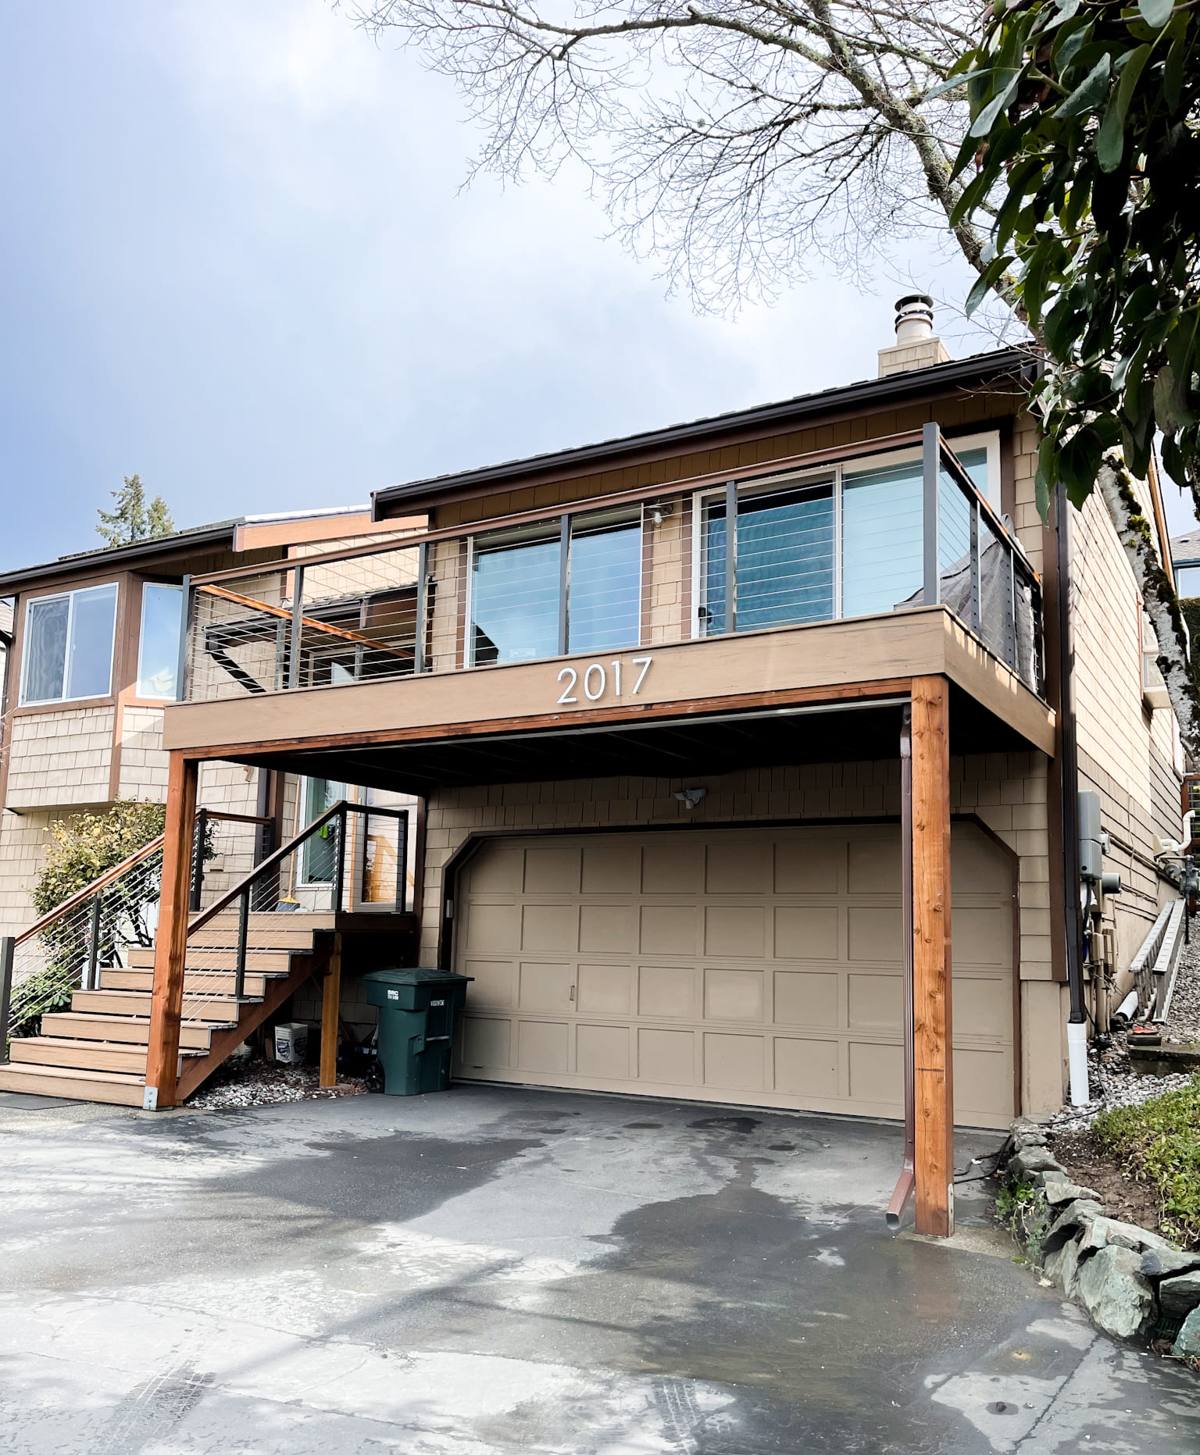
New-Construction Windows vs. Replacement Windows — Why the Difference Matters
These are two different products installed two different ways, and mixing them up on a new build causes real problems.
- New-construction windows have a nailing flange around the perimeter of the frame. The flange gets integrated with the wall's weather-resistive barrier and flashing before siding goes on, creating a continuous drainage plane.
- Replacement (pocket) windows are designed to slide into an existing frame with the old exterior trim left in place. They rely on sealant rather than a flashed-in flange for their primary water management.
On a true new build, the flanged unit is the correct choice almost every time — it gives us a mechanically flashed, shingle-lapped water path instead of leaning on caulk alone. That distinction matters more on this peninsula than it would somewhere drier, because sealant-dependent details are exactly what wind-driven rain and constant damp exploit over time.
How Salt Air Changes the Material Conversation
Airborne salt is corrosive to metal, and it doesn't take direct ocean spray to matter — a persistent marine breeze is enough over the life of a house. On a Point Roberts build, we look hard at what's actually exposed to that air: frame material, hardware, fasteners, and screen components.
Frame Material
Vinyl and fiberglass frames don't corrode, which is why they're the default recommendation for this location. Aluminum-clad wood units can work well, but the cladding and any exposed aluminum trim need to be a finish rated for coastal exposure, and any cut edges or field modifications need to be sealed — bare aluminum is where corrosion starts.
Fasteners and Hardware
Standard steel screws and hinges will rust here faster than most homeowners expect. We spec stainless steel or otherwise corrosion-resistant fasteners for flange attachment and hardware, especially on elevations that face open water or prevailing wind.
Glazing
Dual-pane, low-E glass is standard on new construction, and it's worth pairing with warm-edge spacers rather than older aluminum spacer systems — the metal spacer is another cold, conductive point where condensation and, over time, seal fatigue can start.
| Factor | Coastal-appropriate choice | Why it matters here |
|---|---|---|
| Frame material | Vinyl or fiberglass; quality clad-wood if desired | No corrosion from salt-laden air |
| Fasteners | Stainless or coated corrosion-resistant | Standard steel rusts and stains sills over time |
| Flashing tape | Fully adhered, self-sealing membrane | Holds up under constant damp better than mechanical fasteners alone |
| Sill detail | Sloped sill pan with end dams | Directs wind-driven rain back out instead of pooling at the frame |
| Glazing spacer | Warm-edge (non-metal) spacer | Reduces condensation risk in a persistently humid climate |
Managing Wind-Driven Rain: The Detail Most Installers Skip
On an exposed peninsula, rain doesn't just fall — it gets pushed sideways under wind pressure, which means it can be forced up and under a poorly lapped flange or through a gap that would never leak in calmer weather. The fixes are not exotic, but they only work if they're done in the right order and none of them are skipped.
The Correct Sequence for a New-Construction Opening
- Install a sloped sill pan with back and end dams so any water that gets past the window has a built-in path back outside, rather than a flat surface to sit on.
- Set the window and fasten the nailing flange per the manufacturer's schedule — this is not optional guesswork; fastener spacing affects both structural performance and warranty validity.
- Flash the sides, then the top, in a shingle-lap pattern so each layer sheds water onto the one below it, never the reverse.
- Tie the flashing into the weather-resistive barrier before siding goes on, maintaining a continuous drainage plane down to the foundation.
- Leave the correct gap around the rough opening and fill it with a compatible low-expansion sealant or backer rod — overfilling with spray foam can bow the frame and cause the window to bind or leak.
Every one of these steps is inspectable while the wall is still open. That's the real value of doing this right during new construction rather than trying to retrofit good water management later.
Moss Season and Long-Term Moisture Exposure
Whatcom County's extended wet season means exterior surfaces around here stay damp far longer than they would in a drier climate, and moss and algae growth on sills, trim, and nearby siding is a normal seasonal reality, not a sign anything was done wrong. Where it does matter for windows is drainage: a sill or trim detail that lets water sit instead of shedding it is also a detail that stays wet long enough to host sustained moss and algae growth, which holds moisture against the wood or trim even longer. Correct slope and clearance at the sill, plus keeping nearby vegetation from shading and holding damp against the wall, go a long way toward keeping that cycle from taking hold.
Our New-Construction Window Process
We coordinate directly with your builder or general contractor so window installation lands at the right point in the framing schedule — not too early, not after the weather barrier is already closed in around a rough opening built to the wrong dimensions.
- Review the plans and rough openings before ordering, confirming sizes, swing/operation, and any structural headers needed for larger units.
- Select and order window units suited to this site's exposure — frame material, glazing package, and hardware appropriate for salt air and wind-driven rain.
- Install sill pans, flashing, and the units themselves in the correct shingle-lap sequence, tied into the weather-resistive barrier.
- Document flashing and fastening at each opening before siding covers it up, so there's a record of what's behind the wall.
- Final adjustment and operation check once siding and trim are complete, confirming every unit opens, closes, and locks correctly.
What a Correct Installation Includes — Homeowner Checklist
- Sloped sill pan with end dams at every opening
- Shingle-lapped flashing tied into the weather-resistive barrier
- Corrosion-resistant fasteners and hardware throughout
- Manufacturer-specified fastener spacing on the nailing flange
- Correct shim gap with low-expansion foam or backer rod and sealant — no overfilled gaps
- Frame plumb, level, and square, with smooth operation before trim goes on
- Interior and exterior sealant joints tooled and continuous, no gaps
Why Hire a Crew That Already Works Point Roberts
Point Roberts is a U.S. exclave — the only land route in and out runs through Canada, and every material delivery, crew arrival, and border crossing has to be planned around that fact. A crew that hasn't worked this location before often underestimates how much lead time deliveries need, or shows up without accounting for crossing delays that can stall a build day. We schedule around that reality as a matter of course, because we've done it before on other jobs out here, not because it's a special accommodation.
Just as important is knowing this specific exposure. A window package that's perfectly fine forty miles inland can be the wrong call on an open peninsula catching wind and salt air off the water. We spec materials and flashing details for what this site actually experiences, not a generic coastal Washington assumption.
Coordinating With Your Builder
New-construction window work only goes smoothly when it's sequenced correctly with framing, the weather-resistive barrier, and siding. We work directly with general contractors and builders to hit that window in the schedule, confirm rough openings before units are ordered, and make sure flashing is inspected and documented before it disappears behind siding. If you're framing a new home or addition in Point Roberts, we're glad to get involved early — the earlier we're in the conversation, the fewer surprises there are once the walls close up.
If you're planning new construction in Point Roberts and want windows specified and installed correctly the first time, we're happy to walk the plans with you and put together a free, no-pressure estimate — just fill out the form below.