 Ferndale Siding
 New-Construction Windows Are a Different Job Than Replacement
A new-construction window is not the same product, and it is definitely not the same installation, as a replacement window dropped into an existing opening. New-construction windows use a nailing flange (a fin around the perimeter of the frame) that gets fastened directly to the wall sheathing and integrated into the weather-resistive barrier before siding ever goes on. Get that sequence right and the window becomes part of a continuous drainage plane that sheds water for decades. Get it wrong, and you've built a leak path into the wall that won't show itself until there's rot, mold, or a soft spot in the drywall years later.
For homes going up in and around Nooksack right now — whether it's a custom build on a larger parcel or infill construction closer to town — this is the one point in the project where the window opening is fully exposed and easy to get right. Once siding closes it up, mistakes are hidden, not fixed.
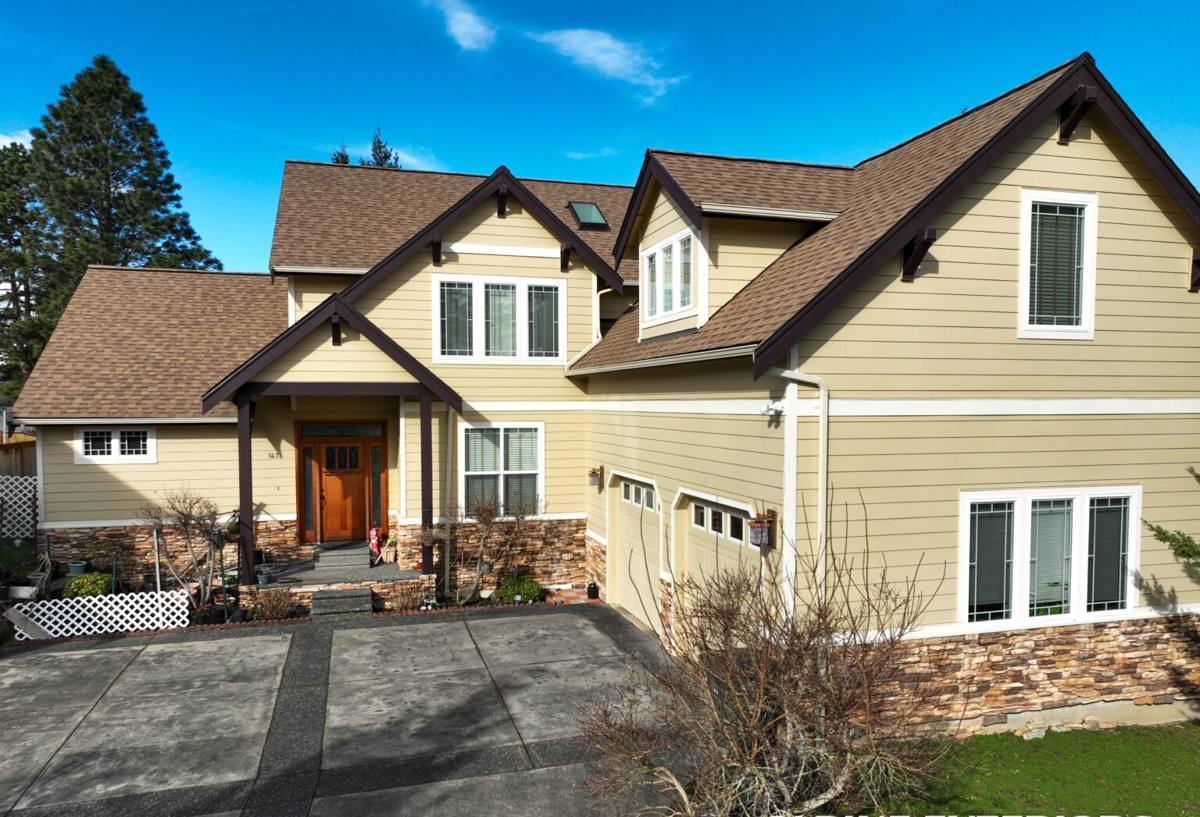
What Nooksack's Weather Actually Asks of a Window Opening
Whatcom County doesn't get hurricanes, but it gets something arguably harder on a building envelope: long stretches of steady, wind-driven rain, combined with the kind of persistent damp that keeps siding and trim wet for days at a time. Add in the moss and algae growth that thrives on shaded, north-facing walls through the darker months, and a window opening here is under more sustained moisture pressure than it would be in a drier climate. Marine air off the Sound also carries a mild salt component that reaches into the lowland valleys on the prevailing westerly weather, which matters more for hardware and fasteners than most homeowners expect.
Wind-Driven Rain and Rough Openings
Rain that's being pushed sideways by wind doesn't just run down glass — it gets forced up under sills and behind trim if there's any gap in the flashing sequence. This is why sill pan flashing and correct head flashing aren't optional extras on new construction here; they're the difference between a window that sheds water and one that stores it.
Moss Season and Prolonged Dampness
Shaded elevations and roof-adjacent window openings in this area stay damp longer through fall and winter, which is exactly the condition organic growth needs and exactly the condition that punishes any weak point in a wall's drainage plane. A correctly flashed window sheds that moisture instead of holding it against the sheathing.
Salt-Tinged Air and Hardware
Cheap or mismatched fasteners corrode faster in this environment than most people expect, especially anywhere within reach of the marine layer that moves inland off the Sound. We fasten with corrosion-resistant hardware rated for exterior exposure, not whatever came in the box, and we don't mix metals in ways that set up galvanic corrosion at the flange.
Getting the Installation Sequence Right
The craft in a new-construction window install is almost entirely in the order of operations, not the caulk gun. A rushed or out-of-sequence install can look fine on install day and still fail in three years.
- Rough opening prep: squared, correctly sized, and sheathed with no gaps at the corners.
- Sill pan flashing: a sloped, corner-dammed pan under the window so any water that gets past the glass or frame drains back out, not into the wall.
- Weather-resistive barrier integration: the WRB is shingle-lapped around the opening in the correct order — sill first, then jambs, then head — so water always drains over the layer below it, never behind it.
- Setting the window: plumb, level, square, and fastened per the manufacturer's schedule, not just "wherever it feels solid."
- Head flashing: installed over the WRB at the top of the opening so water is directed out and away, not down behind the window.
- Sealant, used correctly: at the specific joints the manufacturer calls for, not as a substitute for proper flashing. A window that depends on caulk to stay dry is a window that will eventually leak.
Every step in that sequence depends on the one before it being done correctly. Skipping the sill pan and relying on sealant, or reversing the WRB lap order, are the two mistakes we see most often when we're called in to diagnose a leak in a home that's only a few years old.
Choosing the Right Window for a Nooksack Exposure
Frame material matters more here than in a dry climate, because it determines how the window handles years of damp exposure and temperature swings. There isn't one universally "best" option — the right call depends on the elevation, the sun exposure, and your budget.
| Frame Material | Moisture Behavior | Maintenance | Where It Fits Best |
|---|---|---|---|
| Vinyl | Won't rot; expands/contracts with temperature | Low — no painting or sealing | Budget-conscious builds, most standard elevations |
| Fiberglass | Very stable, minimal expansion, holds paint well | Low to moderate | Larger openings, exposed or south/west elevations |
| Wood-clad | Interior wood needs protection from any leak; exterior clad resists weather | Higher — interior finish upkeep, careful install matters more | Custom builds prioritizing interior wood appearance |
We'll walk through the trade-offs with you rather than steer you toward one product line. On a shaded, north-facing wall that stays damp longer through moss season, we lean toward materials and details that tolerate sustained moisture without complaint. On a more exposed, wind-driven elevation, the flashing detail matters more than the frame material itself.
Energy Performance for the Climate Zone
Washington's energy code sets minimum performance requirements for new-construction glazing, and Whatcom County's climate zone puts real weight on U-factor (how well the window resists heat loss). We help builders and homeowners pick glass packages that meet code without over-spending on performance a shaded, north-facing window doesn't need, while making sure sun-exposed elevations get glazing that actually earns its keep on solar heat gain. This is a conversation worth having before windows are ordered, not after — swapping glass packages mid-build costs time and money neither of you wants to spend.
Our New-Construction Window Process
We work directly with builders and homeowners, and we're used to plugging into a construction schedule rather than dictating our own timeline.
- Plan review — we look at window schedules and elevations before anything is ordered, flagging exposure concerns early.
- Product selection — matched to elevation, exposure, and budget, with honest trade-offs explained.
- Schedule coordination — we install once framing and sheathing are ready and before siding trades need the opening closed up.
- Flashing and installation — sill pan, WRB integration, and window set per the sequence above, on every opening, every time.
- Walk-through — we check each opening before it's handed off to the siding crew, catching anything that needs attention while it's still accessible.
Coordinating With Your Builder or GC
New-construction window work sits at a handoff point between framing and siding, and that's exactly where things go wrong on job sites — an opening sits exposed to weeks of Whatcom County rain waiting on the next trade, or window and siding crews miscommunicate on flashing responsibility and each assumes the other handled it. We coordinate directly with your general contractor or builder, confirm who's responsible for each flashing layer, and if an opening has to sit open for a stretch, we make sure it's temporarily protected rather than left bare to the weather.
What Drives the Cost
| Factor | Why It Matters |
|---|---|
| Frame material | Vinyl runs lower cost; fiberglass and wood-clad cost more upfront but shift maintenance and longevity trade-offs |
| Window size and count | Larger openings and higher counts mean more flashing detail work, not just more glass |
| Elevation exposure | Wind-driven or shaded, damp-prone walls sometimes warrant extra flashing detail or upgraded sealant systems |
| Glass package | Meeting energy code is the floor; upgraded glazing for sun-exposed elevations costs more but can be worth it |
| Site access and stage | Coordinating around an active framing schedule is more efficient than working around finished siding later |
We give straightforward, itemized estimates so you can see what you're actually paying for — there's no reason a homeowner or builder should have to guess at that.
A Quality-Control Checklist for New-Construction Windows
Whether we're doing the install or you're checking a builder's work, these are the things worth verifying before siding closes up an opening:
- Sill pan flashing is present, sloped, and dammed at the corners
- Weather-resistive barrier is lapped in the correct shingle order — sill, then jambs, then head
- Window is set plumb, level, and square, with shims at the manufacturer's specified points
- Fasteners match the manufacturer's schedule and are corrosion-resistant
- Head flashing is installed over the WRB, not tucked behind it
- Sealant is applied only at the joints called for, not as a substitute for flashing
- No gaps or exposed sheathing left at the rough opening corners
Why a Crew That Already Works Nooksack Matters
Familiarity with the local weather pattern isn't a nice-to-have on this kind of work — it changes real decisions, like which elevations get extra flashing attention or how much lead time to build in before an open rough opening becomes a liability. A crew that's worked new construction across Whatcom County also knows the local permitting and inspection process, has working relationships with area builders and framers, and isn't learning the region's moss season and wind-driven rain patterns for the first time on your project. That familiarity shows up in fewer surprises and fewer callbacks, not in anything you'd notice on install day.
If you're planning new construction in the Nooksack area and want windows installed the right way the first time, we're glad to walk the plans with you and put together a straightforward, no-pressure estimate — just fill out the form below.